User Information and Assignments
Once a user is set up, the users page is where you can modify and configure information, settings, and features for each user. After selecting the Users tab in the left-hand navigation, you will see a list of your users assigned to phone numbers. You can edit user information and manage user-level features like call forwarding, sharing/monitoring capabilities and station enhancements.
This guide reviews some of the information and settings that can be modified on the User Information and User Assignments pages for a user within the admin portal.
View/Modify User Information
Once a user is created, view/modify the user’s information by following these steps:
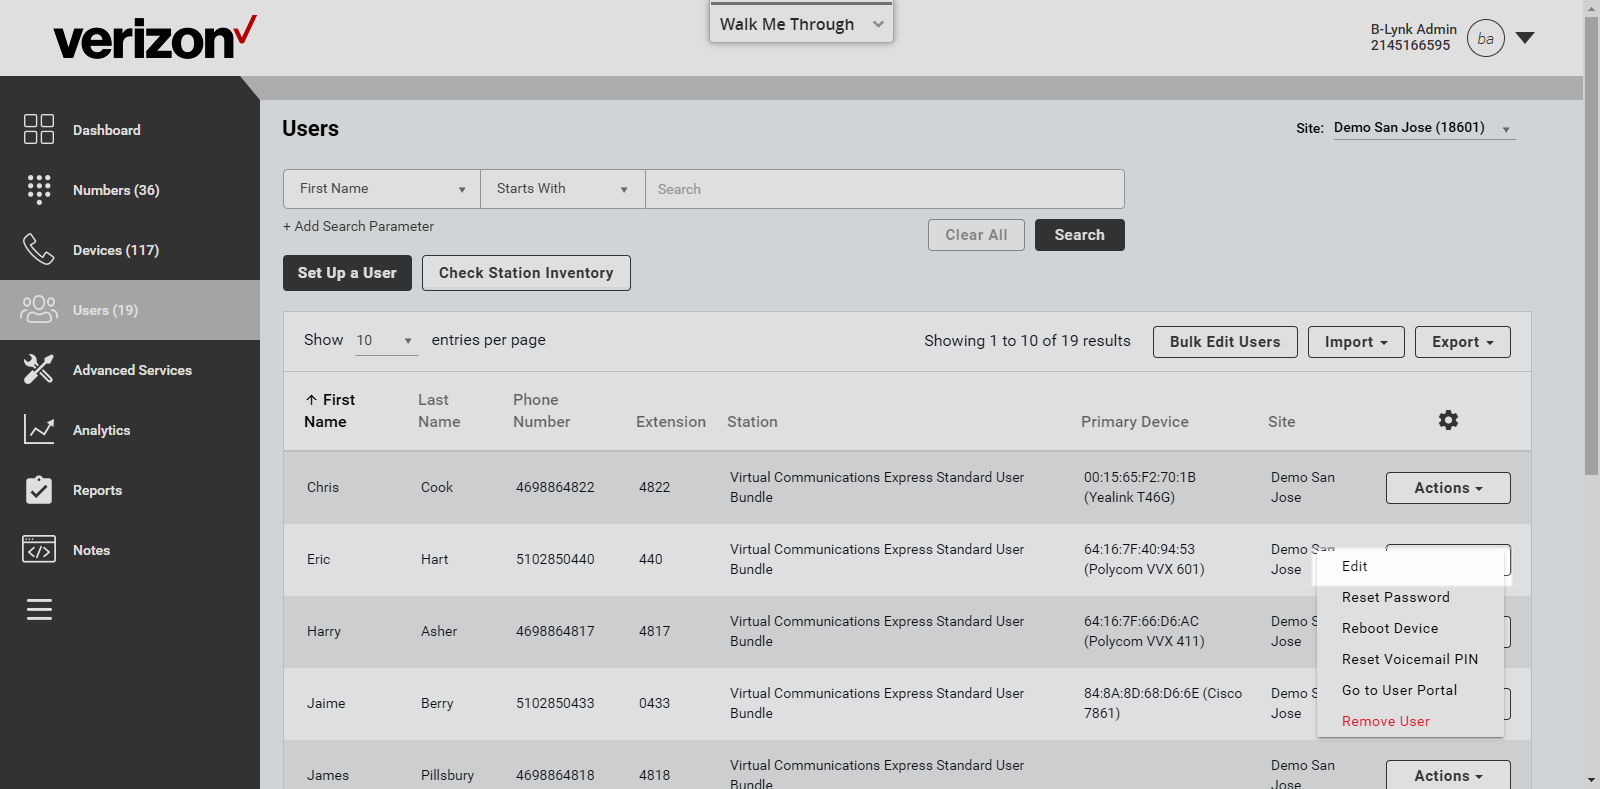
- From the admin portal dashboard, select the Users tab.
- Find the user you would like to modify and select the Actions drop-down menu.
- Select Edit.
- The Edit User window appears on the User Information page. Here you can see a snapshot of that user and modify the following information:
- First Name and Last Name
- User ID - The user ID is used for sign-in purposes. This must be in the format of an email address. You can enter up to four user IDs per user.
- Email - The email entered here is used for account notifications, including any password resets.
- Language - The language selected here is used for all of this user’s email communication, audio announcements and voice prompts.
- If needed, select Reset Password here. The reset will go to the email address entered for this user.
- Select Save to save any changes.


View/Modify User Assignments
Additional information determined when a user is initially created can be modified on the User Assignment page of the Edit User window. Follow these steps to access and modify the settings available on the User Assignments page:
- From the admin portal dashboard, select the Users tab.
- Find the user you would like to modify and select the Actions drop-down menu.
- Select Edit.
- The Edit User window appears. Select User Assignments to view/modify the following:
- Phone Number - Modify the user’s phone number assignment here, if applicable. Note: The phone number field is only editable if you have the extension-only feature enabled. Without the extension-only feature, you are required to have a phone number for all users. With the extension-only feature, you are required to have either a phone number or extension assigned.
- Extension - Modify the user’s extension here, if applicable.
- Station Package - Here you can upgrade or downgrade a user’s station package assignment. Find detailed steps and more information in this guide.
- Caller ID - The information entered here will show before the user’s calling line ID first and last name.
- Caller ID First Name and Last Name - When a new user is created, the CLID first and last name are system-generated from the user’s first and last name. Here is where this can be modified. Note: Special characters are now supported for the users first and last names but not in the Calling Line ID (CLID) names. Unsupported special characters are removed when the CLID first and last names are generated.
- Alternate Numbers - The alternate numbers option enables you to have up to 10 phone numbers ring in to the user. This allows them to audibly differentiate calls coming in from particular numbers. Choose the alternate numbers you would like to assign to this user from the Find Phone Number search field. Select Use distinctive ringing to add a distinctive ring to a specific alternate number. Then choose the ring pattern from the drop-down menu.
- Select Save to save any changes.